Blog 
Click here to go back
Voiding Bill Payment Checks And Paychecks in QuickBooks
Voiding a bill payment check does not reduce any expense in QuickBooks. Payments to vendors are being reduced.
If a bill payment check is voided, the bill originally paid by a voided bill payment check, will now appear on the list of open payables. It is no longer a paid item.
If the bill payment was from a prior period, use the procedure outlined in the blog post for regular checks with two modifications.
The Name column in the Make Deposit window must have the vendor name the original check used. The Account column must be filled in with the account Accounts Payable.

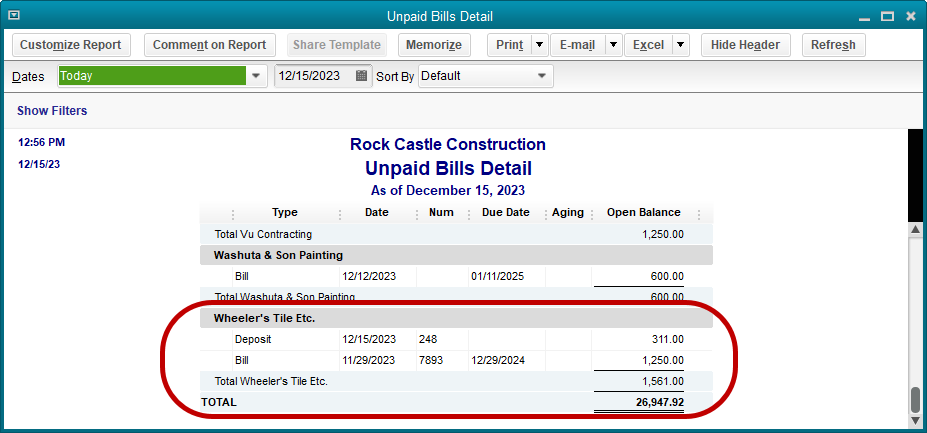
The above transaction causes an increase in the vendor’s balance by the deposit amount.

That’s not right. We need the bill associated with the check to be voided as well.
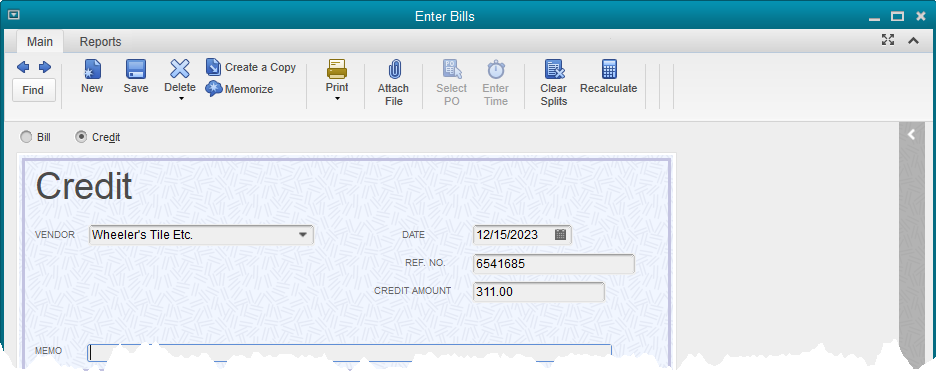
Use the Enter Bills window, but change the radial button setting in the upper left of the window to Credit rather than Bill. Create the transaction just as you would a bill, using the same expenses or items as were on the original bill.

The next step is to access the Pay Bills feature, find the bill for that vendor, and use Set Credits to apply the credit to the bill.

Voiding and Replacing Paychecks
Fortunately, the usual scenario in which a paycheck needs to be voided is when an employee loses a paycheck and it needs to be replaced. Here is an easy way to solve this sticky problem without affecting any other payroll transactions.
If the paycheck to be replaced were check number 287, create a regular check using the same payee (the employee), the date of the lost paycheck, and the same check number.
Use the Payroll Expenses account on the stub portion of the check but leave the amount of the check as zero. Create a memo explaining this is a voided paycheck, then save the check.
QuickBooks will display a warning message that the number already exists, but will allow the check to be saved. Now void the check using the QuickBooks Void command.
This completed step is merely to have a record in QuickBooks that the old paycheck number is a voided transaction.
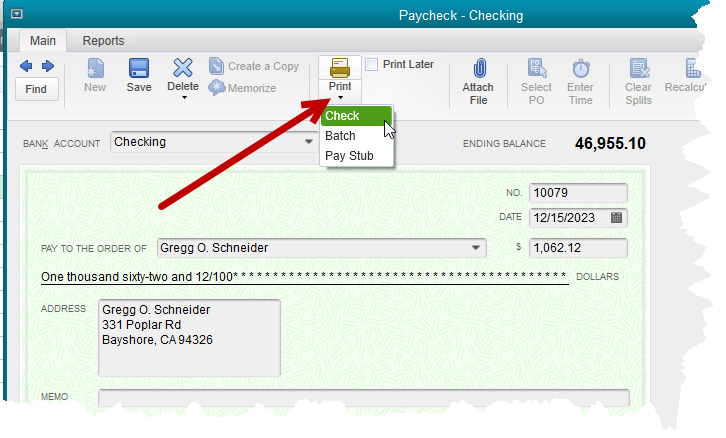
Now display the original paycheck. Click on the Print icon at the top of the transaction ribbon.
Select Print. QuickBooks will suggest a new number for the check. Either accept the suggestion or type in the number of the check form that will be used, if different.
Once the check has printed, Save the paycheck with the new number.

The check register will now show the old check number as a voided check and the replacement check will, of course, have the new number as printed.


